Step 1: Read Aloud
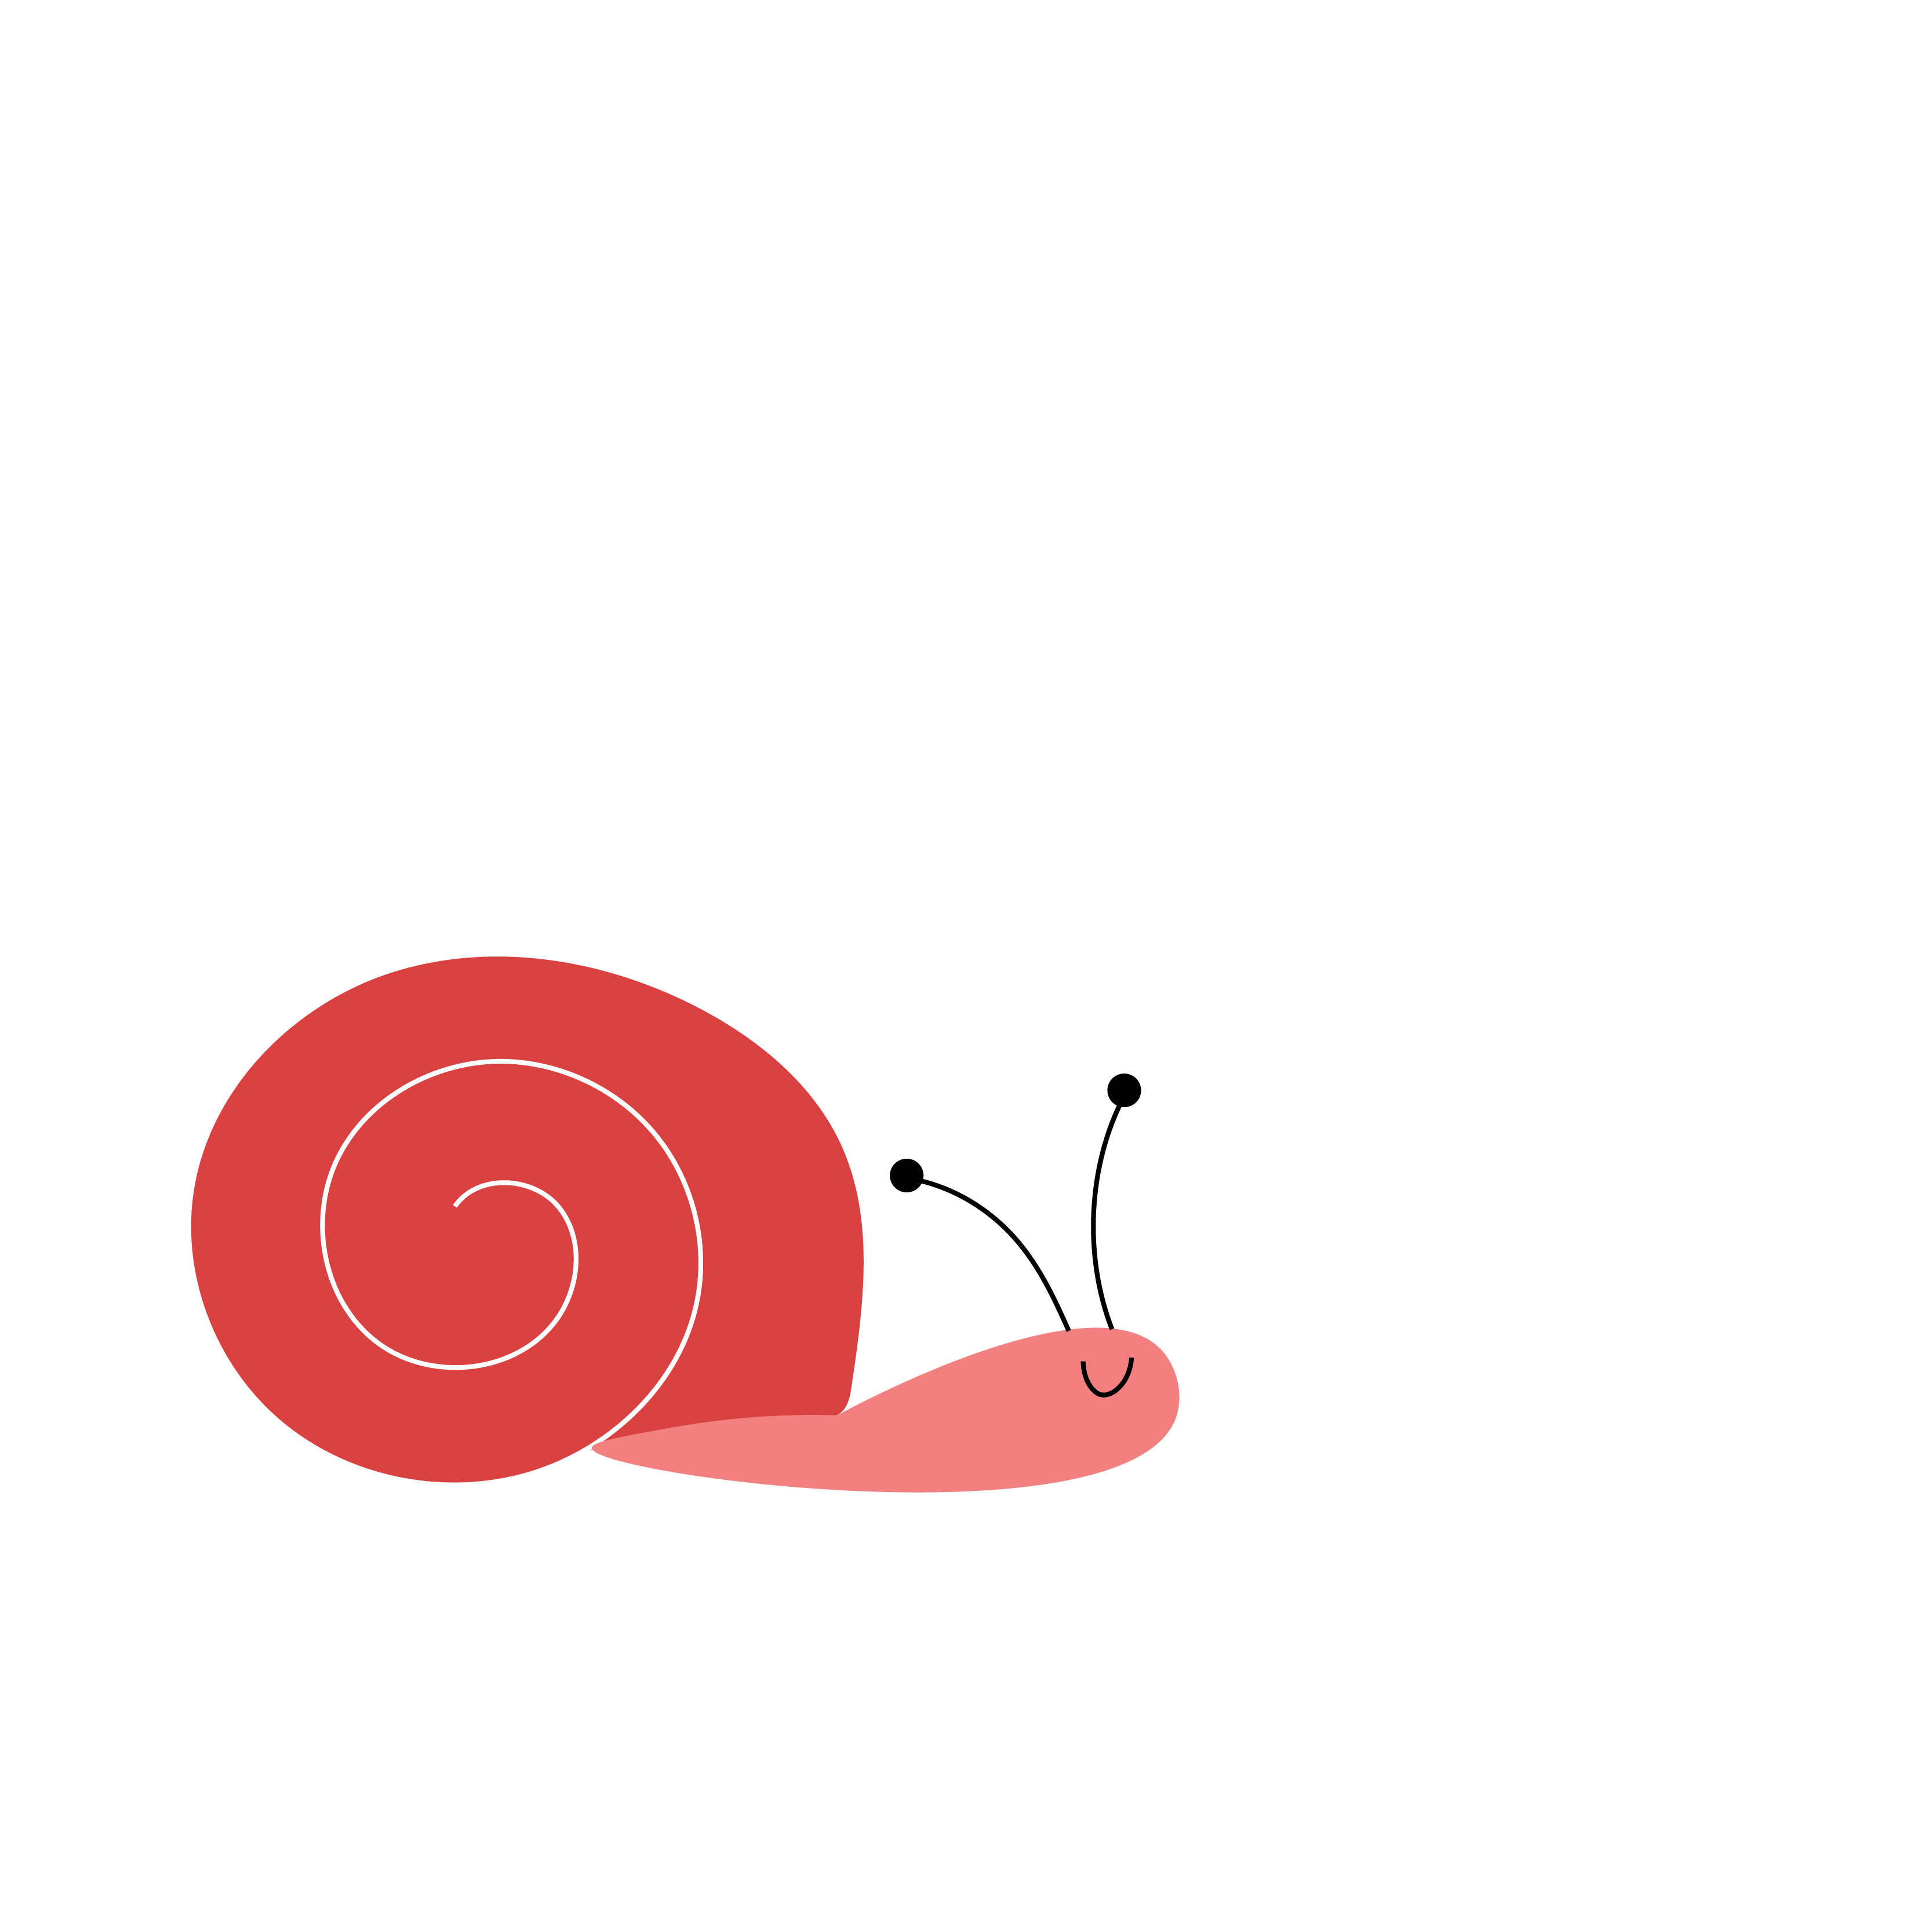
Read Shark Lady by Jess Keating. This is a fabulous book, and especially good for exposing girls to a career in one of the STEM fields. About ten pages in there is a drawing of a coral-red snail that makes a great first drawing project.
If you decide to draw some simple fish in addition to the snail, there are plenty of great examples in the book to emulate.
Step 2: White Board
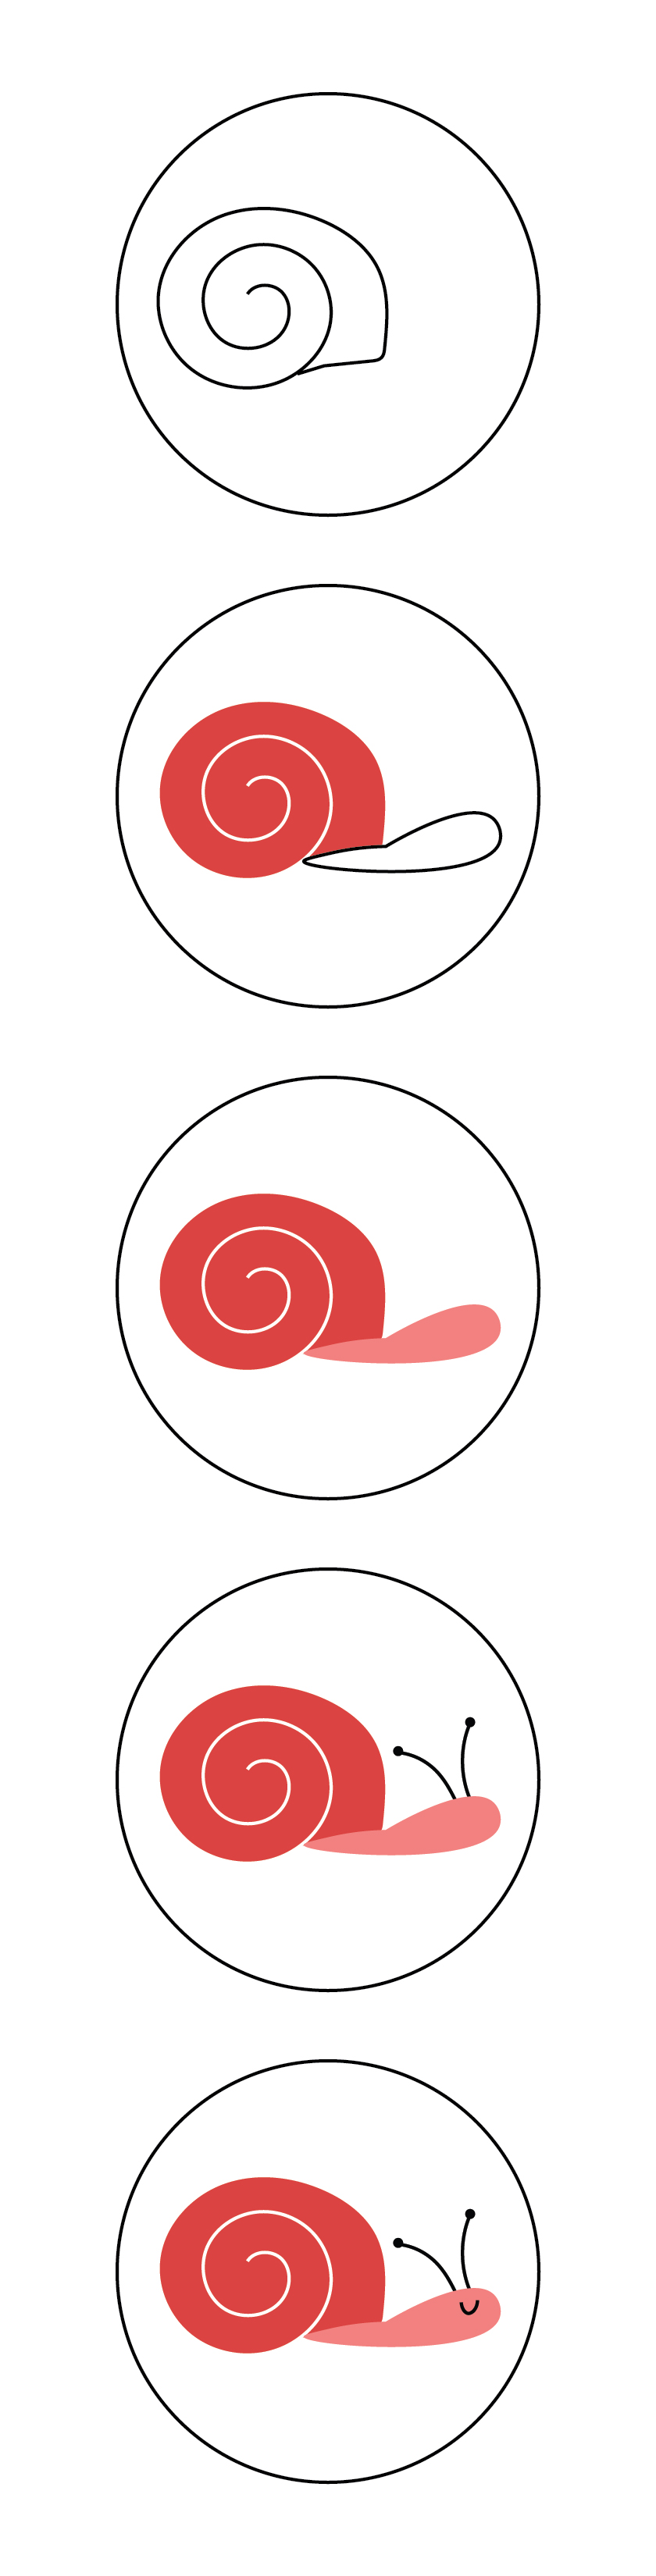
Use the drawing guide shown below to demonstrate a snail drawing. First practice the spiral again and again with the child, closing it each time. Talk about clockwise and counter clockwise spirals. Clockwise will put the snail's head pointing to the right and counter clockwise will put the head pointing to the left.
Step 3: Rough Draft
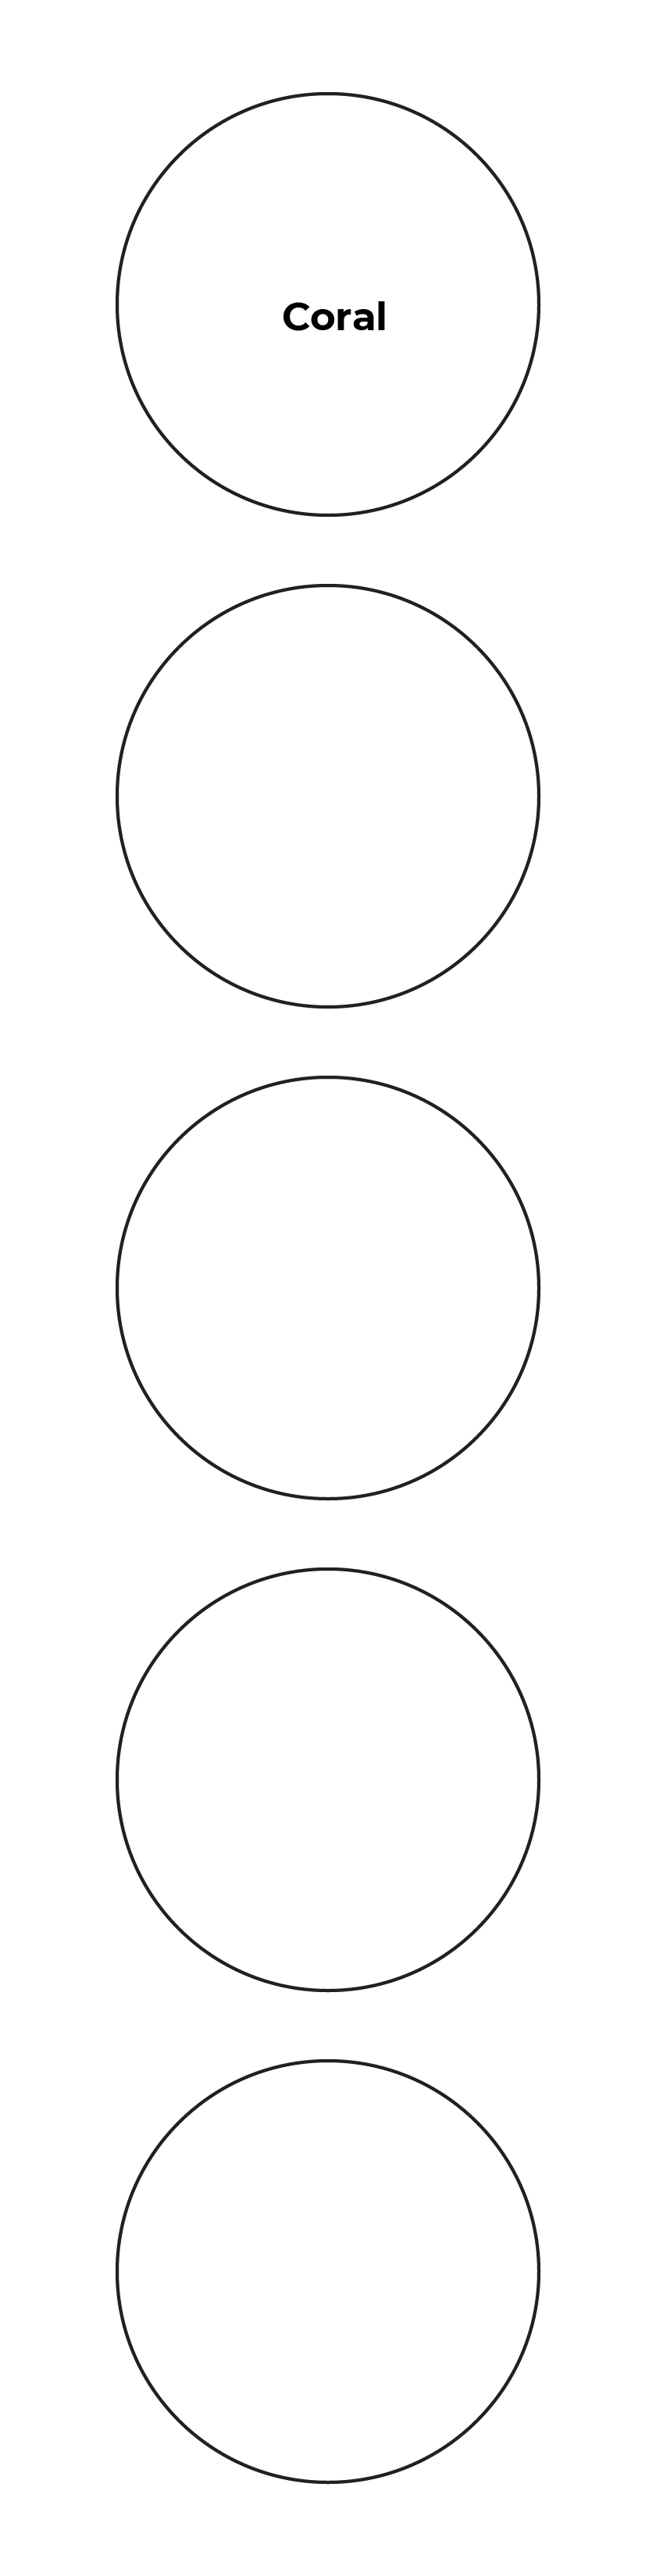
Next have the child practice drawing the snail on the rough draft paper. Before beginning, plan out the entire drawing. Since the snail is under water, will there be fish, coral or plants in the drawing? Will the entire square be water, or will we have part of the square be above the water. Maybe we want a boat or a sun in our drawing. These decisions determine how big our snail will be.
Step 4: Trace & Paint
Now transfer the child's drawing to a 6x6 square of watercolor paper. Use very light pencil lines here. The child trace over these light lines with watercolor pencil and you will be erasing extra pencil lines where necessary. Then switch to brush and watercolors to finish the picture.
This is a good time to bring out the color wheel and talk about complimentary colors. Maybe for this ocean painting, the child might choose adjacent colors blue and green. Introduce the term analagous, which is a color theme using three colors next to each other on the color wheel such as blue, blue-green, and green. Another choice would be to choose complimentary colors, especially if there are fish or coral in the picture.
Step 5: Add Text
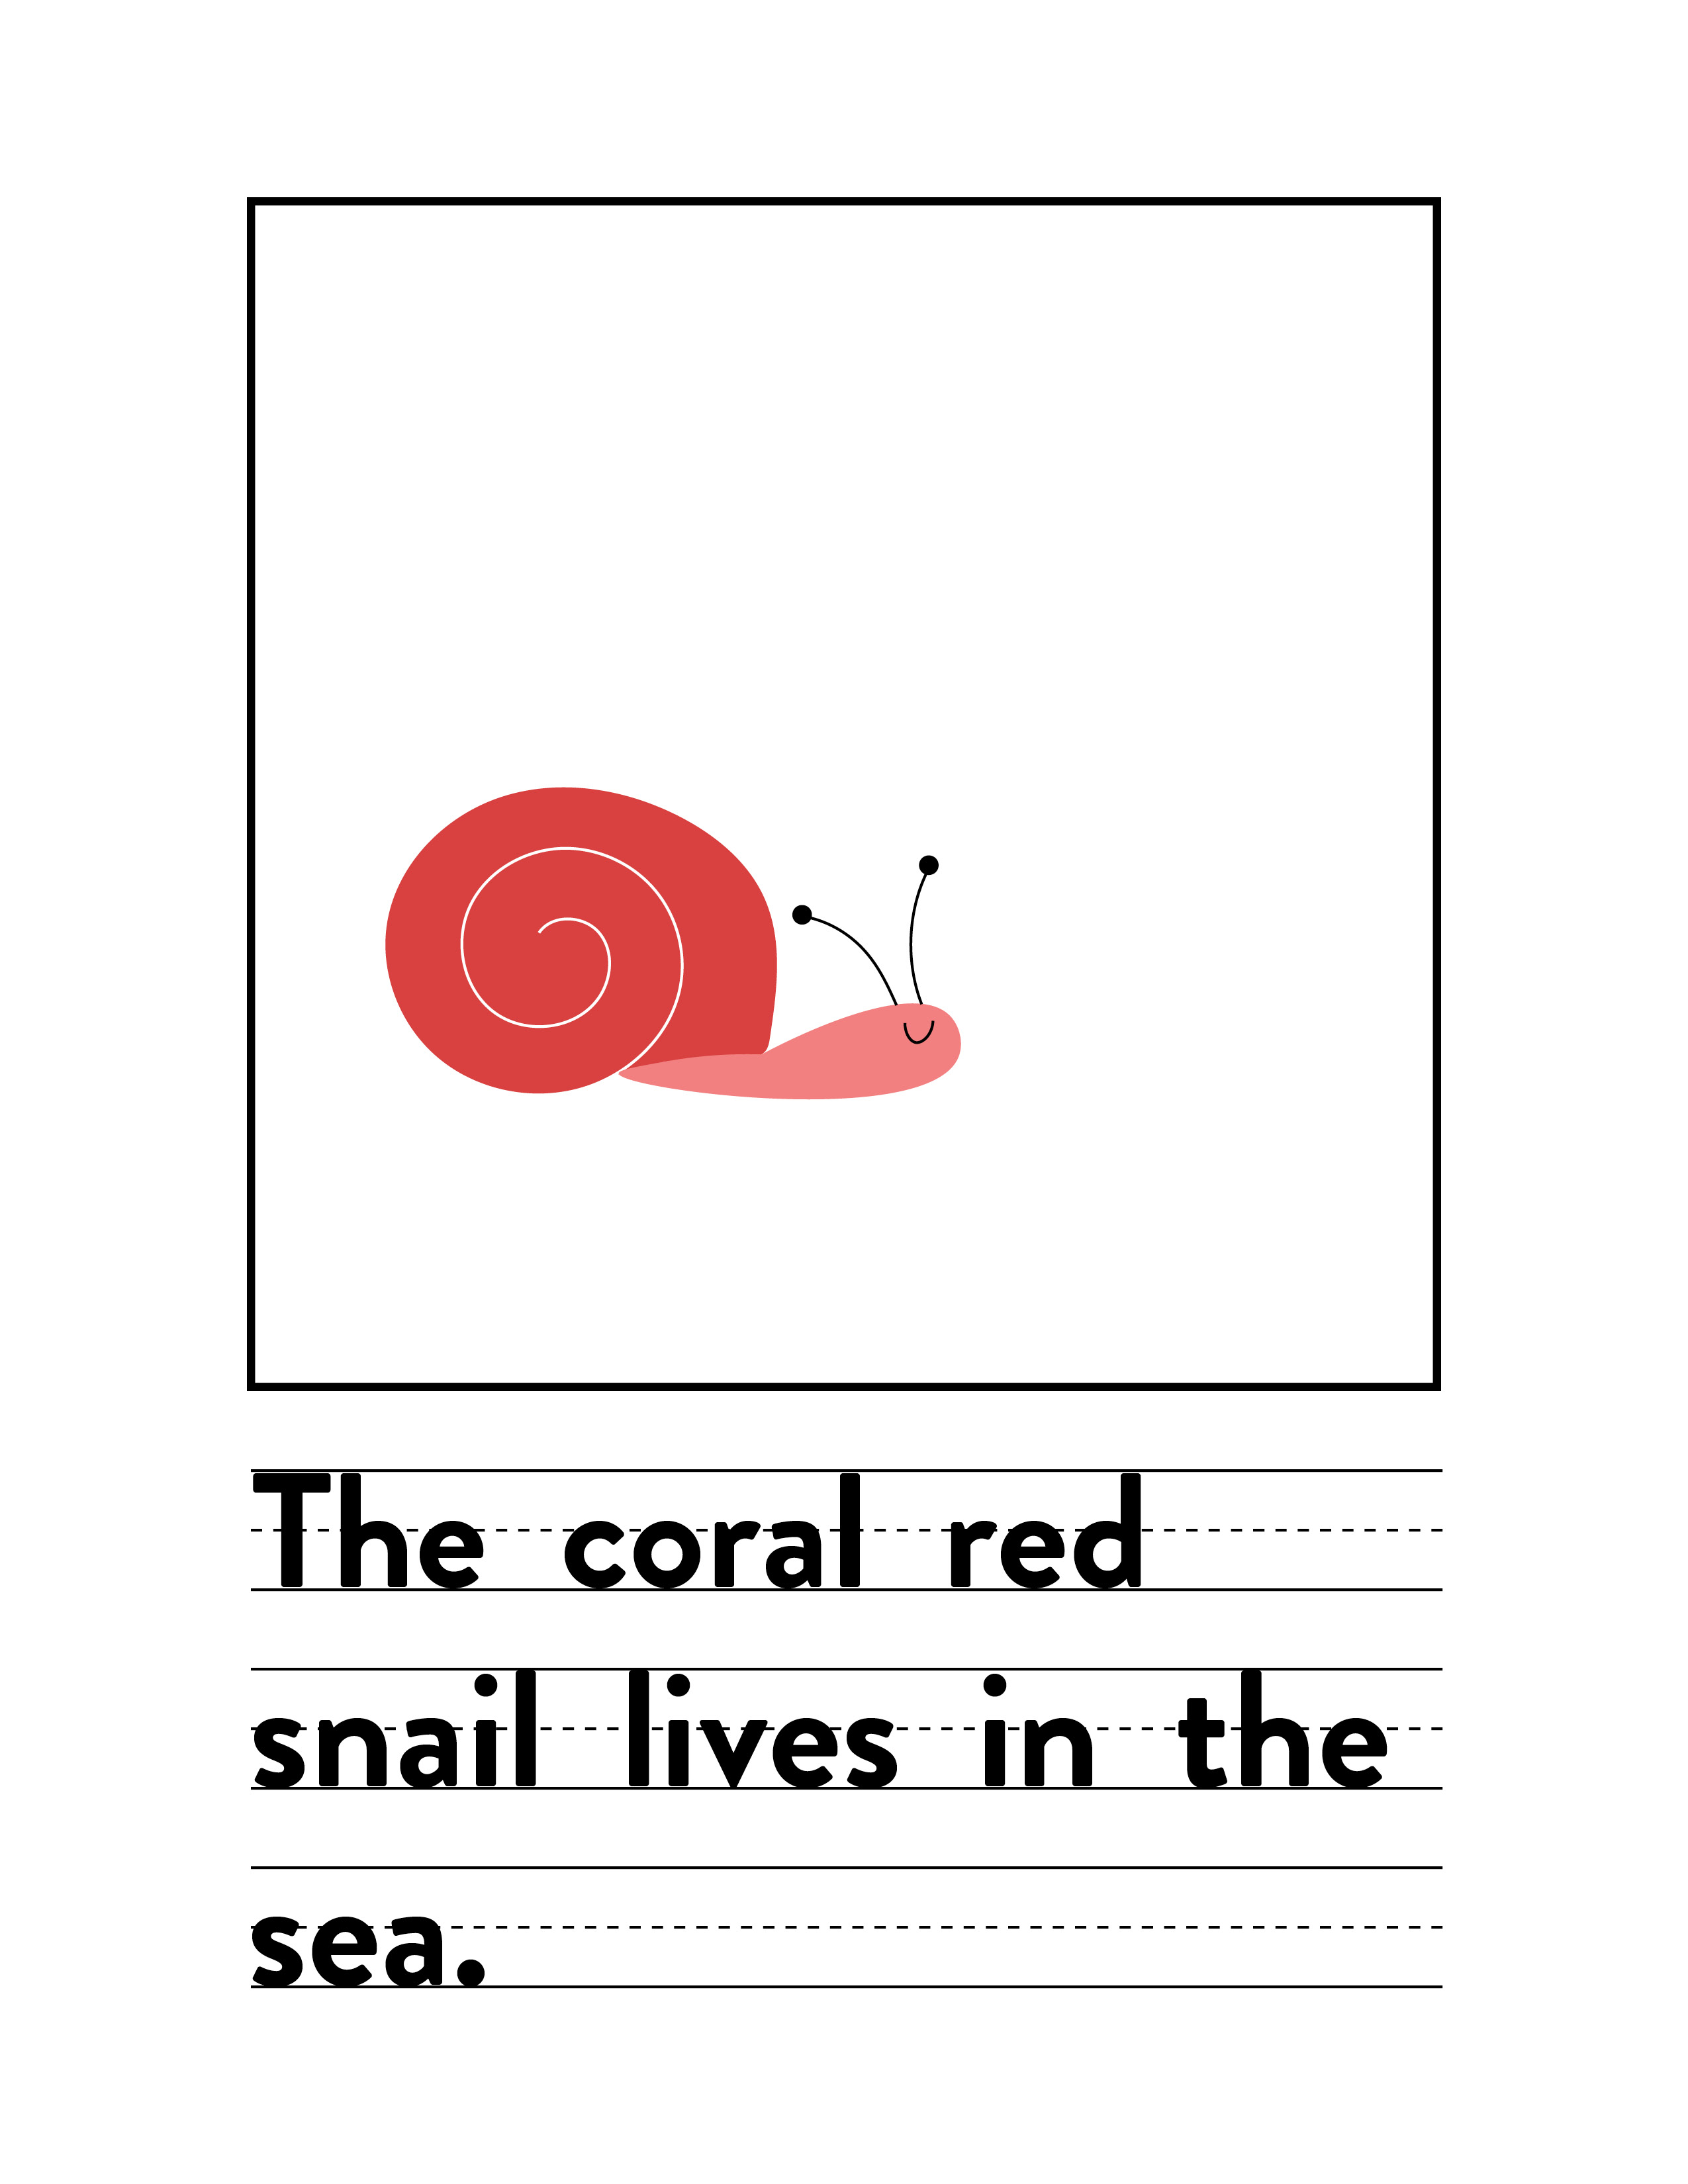
If the child wrote an entire sentence in the rough draft step, copy that onto the drawing now. The letters will need to be small, so this should be done by the adult rather than the child. If the child only wrote one or two words in the rough draft step, talk about what words the child wants to add to the picture now.
Let the child do as much of the writing as possible. Think of yourself as taking dictation. This is a good time to get the white board back out and have the child write some of the words on their white board as well.
Step 6: Read, Read, Read
To get ready for reading, first help the child memorize the words you wrote on the their painting. Read them again and again, pointing at each word along the way. Once you are confident the child has the reading mastered, it's time to show off.
Read this one-page story to anyone who will listen. Facetime relatives if you don't have an audience readily available, or better yet, make a video and send it off. The important thing here is to make a big deal about the artwork, the story, and the reading.