
Step 1: Read Aloud
Read The Little Red Hen by Byron Barton. There are several different versions, and any of them will do, but this is my personal favorite and I think it has the simplest words. This was the very first book one of my children read independently.
Each day of the
project reread the story and have the child retell as much as he or
she can remember. Draw attention to the repetative words in the story like And she did
and Not I, squealed the pig.
These are great opportunities for memorization and later reading success.
Step 2: White Board
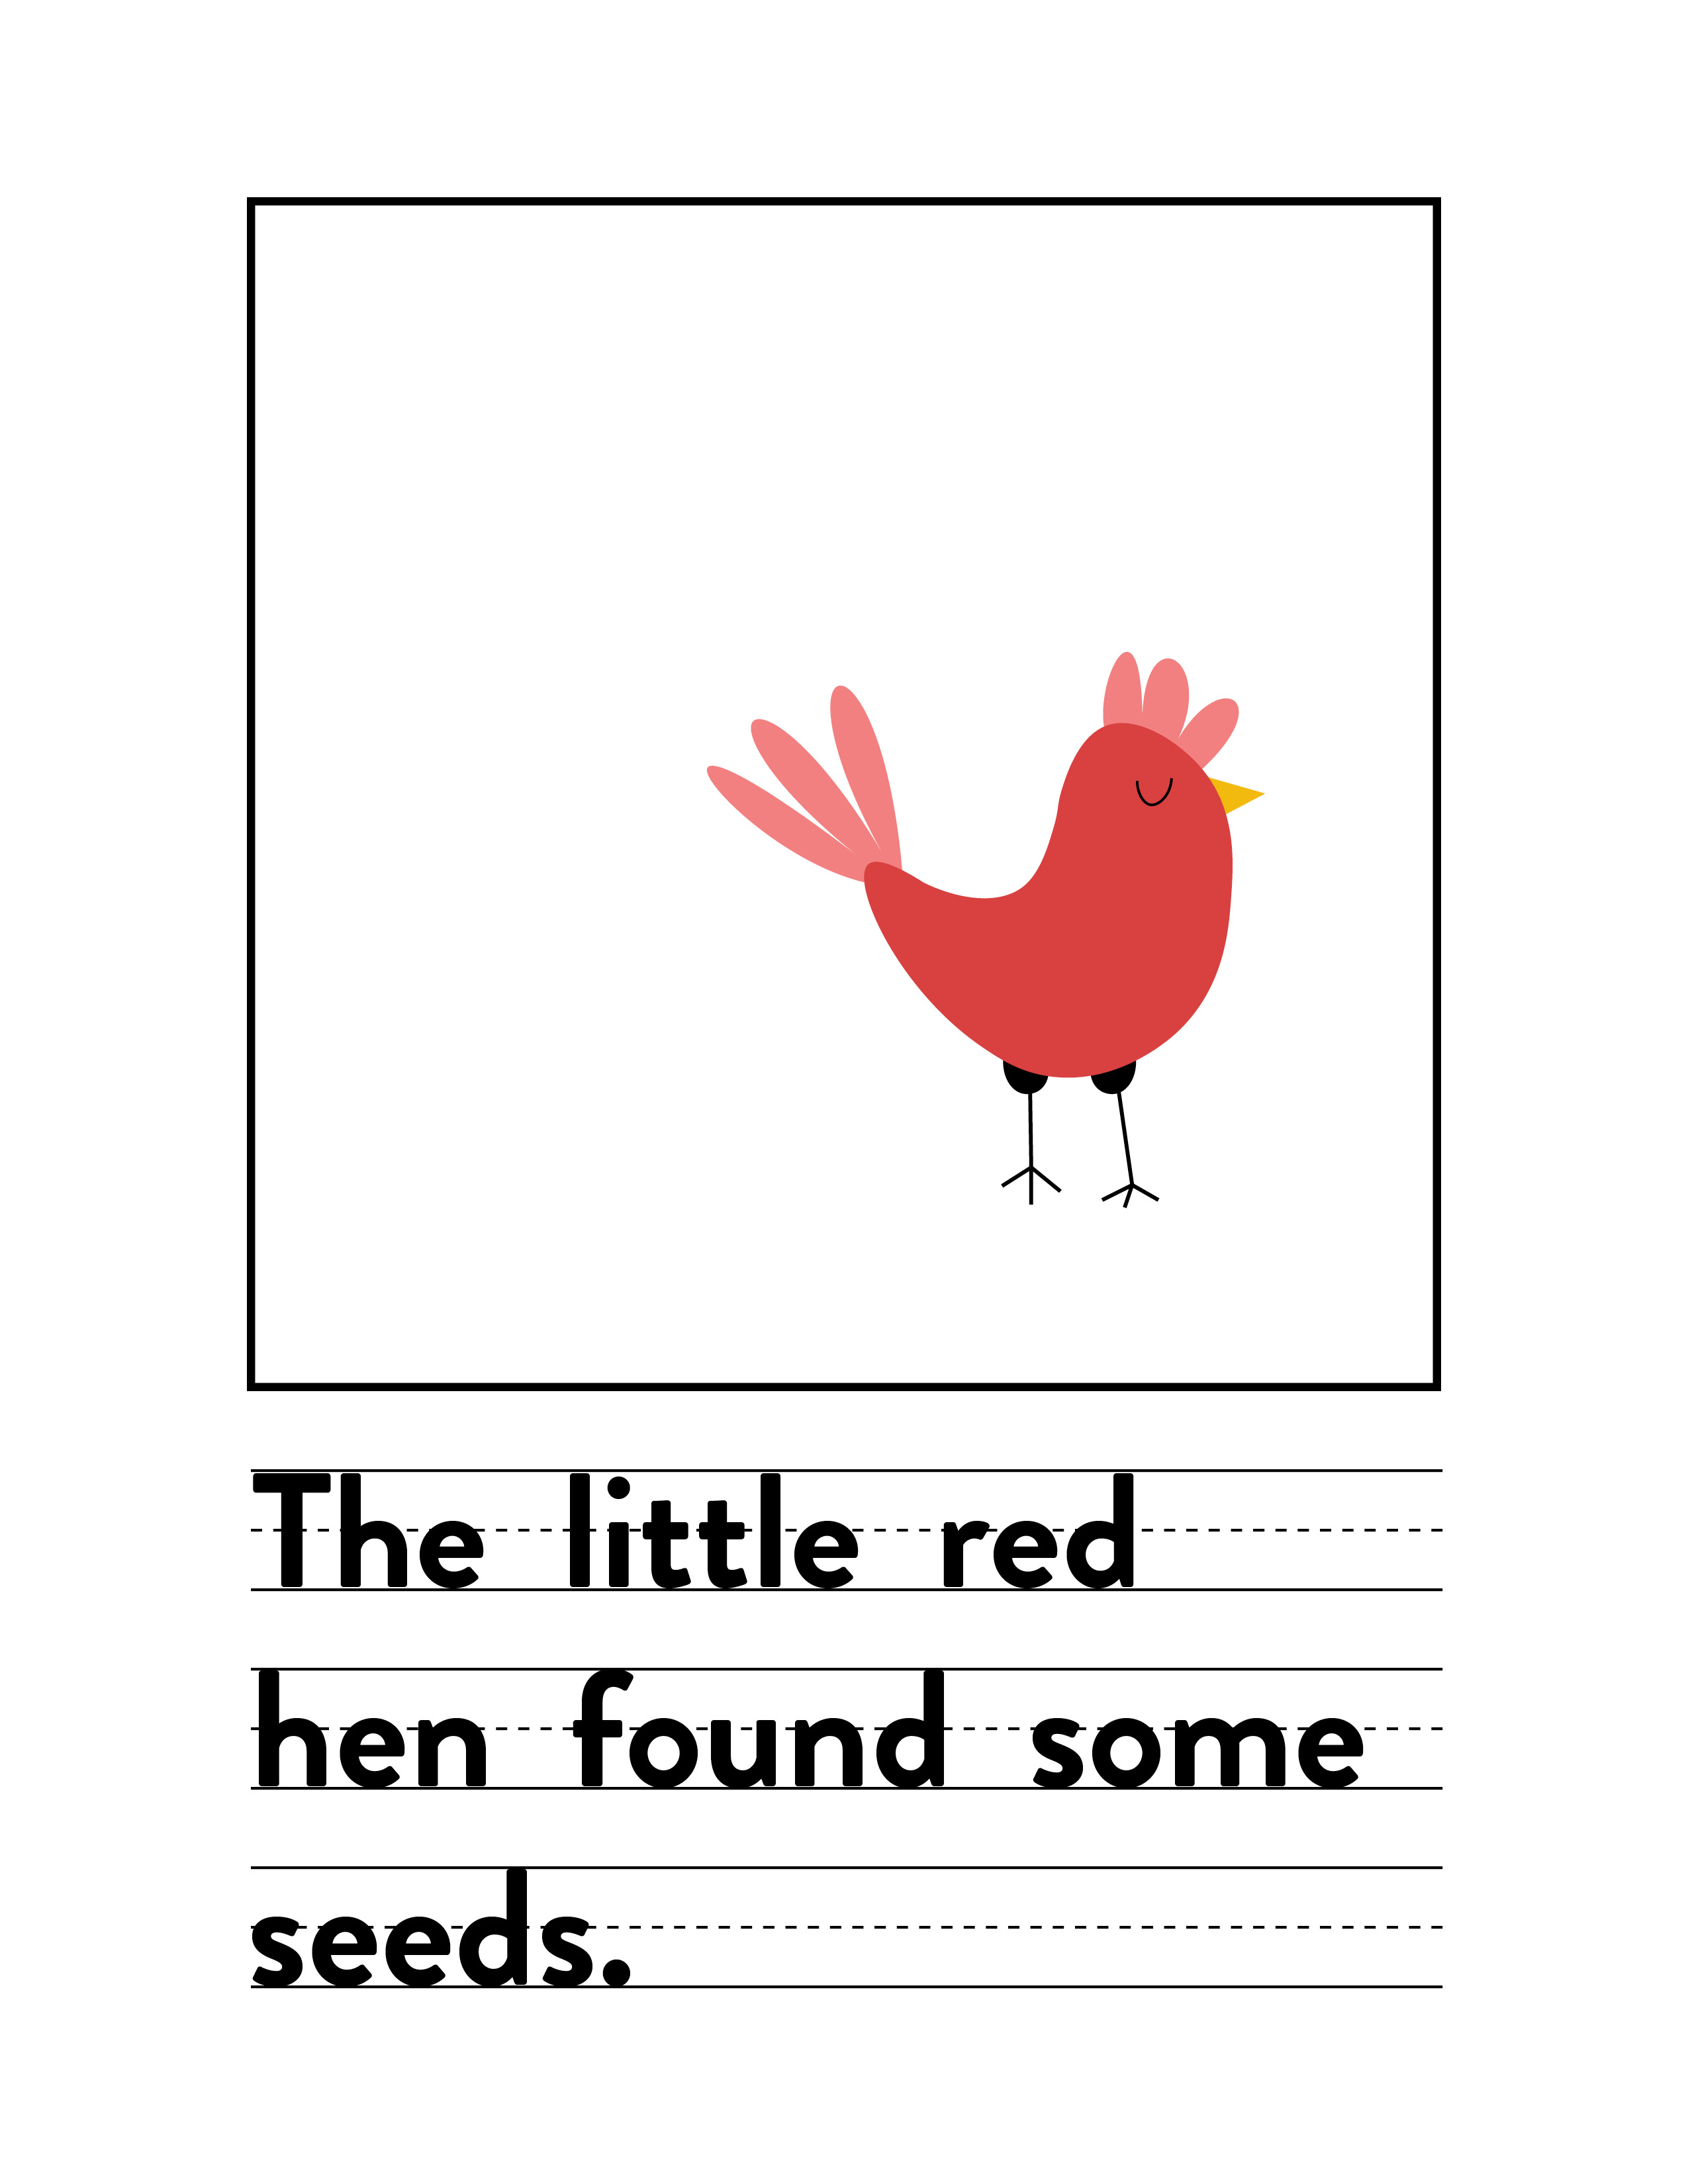
First, use the hen drawing guide to demonstrate how to draw a hen on the white board. Talk about the different kinds of lines and shapes in the drawing. The body, feathers, and the eye are curved lines. The legs are horizontal straight lines, while the feet are diagonal straight lines. The beak is a triangle.
Then have the child practice drawing the hen on his or her white board. Do lots of erasing and redrawing until he or she is comfortable with the key components that make up our hen: body, top feathers, beak, eye, tail feathers, and legs. Encourage originality and experimentation with each drawing.

Once the the child is comfortable drawing the hen on the white board, move on to steps 3-5. You will revisit this step for each of the other animals. Another option is to skip the rough draft step for now and continue with all of the other drawings. Then you can trace, color, cut, and mount all seven drawings at once in a separate lesson.
For the best success with young children, guide the hand for the main body portion of the drawing. Then, to get a truly organic drawing, let children draw the other stages of each animal, occassionally erasing and trying again when necessary. Note: All of the drawing guides are downloadable.

Step 3: Rough Draft
Next have the child practice drawing the hen on the rough draft paper. Lightly drawing a circle in the lower right corner to indicate the size of the hen in the picture and to leave room for the chicks that we'll draw later. After the drawing is done, begin to talk about the storytelling script. Choose one sentence of the script to write here on the lines below the drawing.
The sentence on this sample rough draft is only a suggestion. Let the child decide what part of the script to write on the lines. If the child creates more than one sentence, write that down on a separate paper to use later.
Step 4: Trace or Digitize
Now trace the child's drawing to heavier art paper or draw it in a digital art program such as Adobe Illustrator. If you don't want to work on the digital art learning curve right now, finish the artwork by having the child trace over your lines with fine colored markers, and then color in the drawing with fat markers or colored pencils. Talk about coloring around the edges of the artwork and gradually moving inward rather than moving in a horizontal or vertical back and forth motion.
If you choose to digitize the drawing, there are some key advantages, the first being that the child can experiment with a variety of colors. It's just a click of a button to change the shade of red or the color of the tail feathers. A second advantage is that you can print the result again and again if the storytelling pieces get damaged. The third, and perhaps most significant advantage, is that you don't have to work on staying in the lines.
Step 5: Cut & Mount
Cut out the finished hen and mount it on sandpaper or flannel. You may want to laminate the artwork first or apply an artist's spray varnish. These come in matte or gloss as well as different varieties for different art mediums.
The easiest solution for a flannel graph board is to use the backside of your white board, but another great idea is to buy a cork board and tack flannel to it. This allows you to change the background color to accomodate different story settings.
Step 6: Repeat
Repeat steps 2-5 until you have completed all the animals. You will need a red hen, three chicks, a pig, a sheep, and a dog. When you are done, you will have several rough draft pages as well as the storytelling pieces.
You may want to use the same animals shown in the Byron Barton version of The Little Red Hen. There are some definite advantages to this. I chose a sheep over a cow because I felt it was easier to draw, and I chose a dog over a duck because a duck is so similar to a hen and chicks.
Step 7: Write the Script
For this step, I recommend using 3x24 inch sentence strips. You can buy them on Amazon in packs of 100. We are not going to write out the entire story, but lets write out a few sentences that will serve as storytelling prompts later.
Think simple: Not I, said the pig. Not I, said the cow. Not I, said the dog. Try to hit most of the important action in the story, and above all use words that will be easiest to read later.
Step 8: It's Story Time!
In the beginning, you may have to prompt the child's storytelling with questions. Who is our story about? What did she find? What did she do with the seeds? Did her friends help her? What did they say?
Make storytelling fun. Try out your best animal voices and encourage the child to do the same. Talk about speaking loud and clear. As the child becomes more advanced encourage good eye contact with the audience. Don't expect too much too soon, but use storytelling as an opportunity to teach valuable performance skills.